Step-by-Step Guide to Creating a Clay Necklace and Earrings Combo
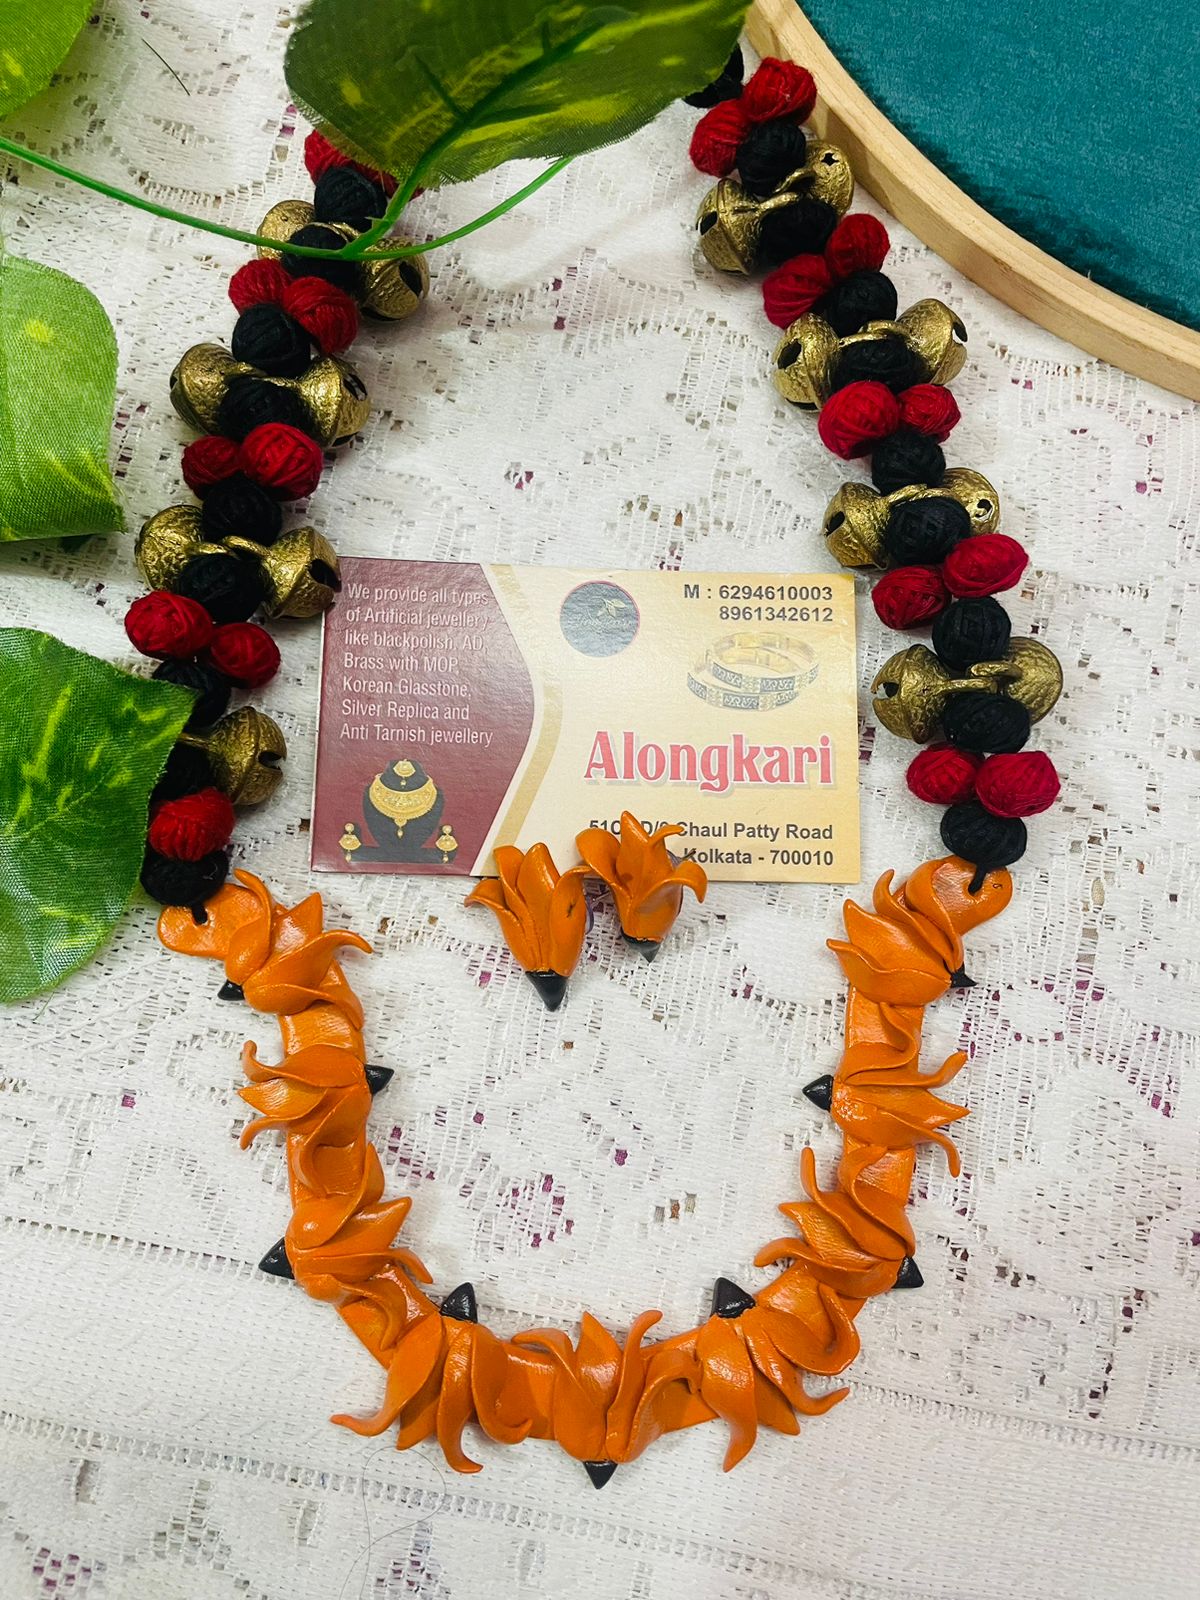
Creating a stunning clay necklace and earrings set is a rewarding and creative endeavor. To get started, gather the necessary materials and tools. You will need polymer clay or air-dry clay, molds, rolling pins, cutting tools, and jewelry findings such as necklace chains and earring hooks.
Step 1: Preparing the Clay
Begin by conditioning the clay to make it pliable and easy to work with. Knead the clay in your hands until it becomes soft and malleable. Once conditioned, use a rolling pin to roll the clay out to your desired thickness, typically around 1/8 inch for jewelry pieces.
Step 2: Cutting and Shaping
Next, cut and shape the clay. You can use molds for consistent shapes or freehand techniques for unique designs. For the necklace pendant, consider using a larger mold or shape, while for the earrings, smaller, matching shapes work best.
Step 3: Adding Textures and Details
Enhance your clay pieces by adding textures and details. Use tools or stamps to imprint designs onto the clay surface. You can create intricate patterns, simple textures, or even add embellishments like tiny beads or metallic flakes.
Step 4: Baking or Air-Drying
Depending on the type of clay used, you will need to bake or air-dry the pieces. For polymer clay, follow the manufacturer’s instructions for baking, usually at a low temperature for a specified time. For air-dry clay, allow the pieces to dry completely, which can take 24-48 hours. Ensure the pieces harden thoroughly to avoid any breakage.
Step 5: Painting and Sealing
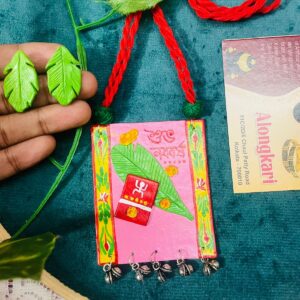
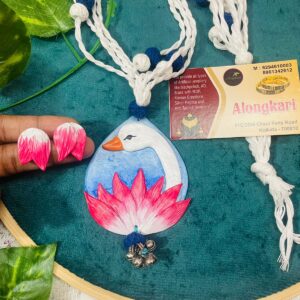
Once the clay pieces are hardened, you can paint them. Use acrylic paints to add colors and patterns. After painting, apply a protective sealant to ensure the paint stays intact and to give the pieces a polished finish.
Step 6: Assembling the Jewelry
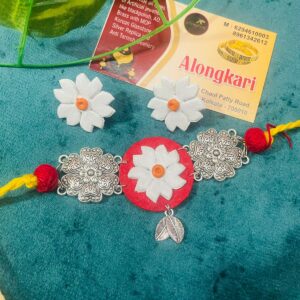
The final step is assembling your jewelry. Attach the clay components to necklace chains and earring hooks using jump rings and pliers. Ensure all connections are secure to prevent the pieces from falling apart during wear.
For personalizing your clay jewelry set, consider adding initials, specific colors, or custom patterns. When packaging the finished product, use attractive boxes or pouches to enhance the presentation, making them perfect for personal use or as thoughtful gifts.


Reviews
There are no reviews yet.