Introduction to Clay Jewelry Making
One of the primary benefits of using clay in jewelry making is its versatility. Clay can be molded, shaped, and textured to create a wide array of designs, from simple geometric shapes to elaborate, nature-inspired patterns. This flexibility provides artisans with unparalleled creative freedom, enabling them to produce unique pieces that stand out. Additionally, clay is an affordable material, making it an excellent option for beginners and hobbyists looking to explore jewelry making without a significant investment.
Beyond its creative potential, clay offers practical advantages as well. It is lightweight and easy to handle, reducing strain during the crafting process and ensuring comfort when worn. Moreover, clay jewelry is durable and can be made to mimic the appearance of more expensive materials, such as gemstones and metals, providing a cost-effective alternative that does not compromise on aesthetic appeal.
Environmental considerations also play a crucial role in the appeal of clay jewelry. Unlike metals and plastics, which often involve environmentally harmful extraction and manufacturing processes, clay is a natural material with a lower ecological footprint. When used responsibly, it can contribute to more sustainable crafting practices, aligning with the growing consumer demand for eco-friendly products.
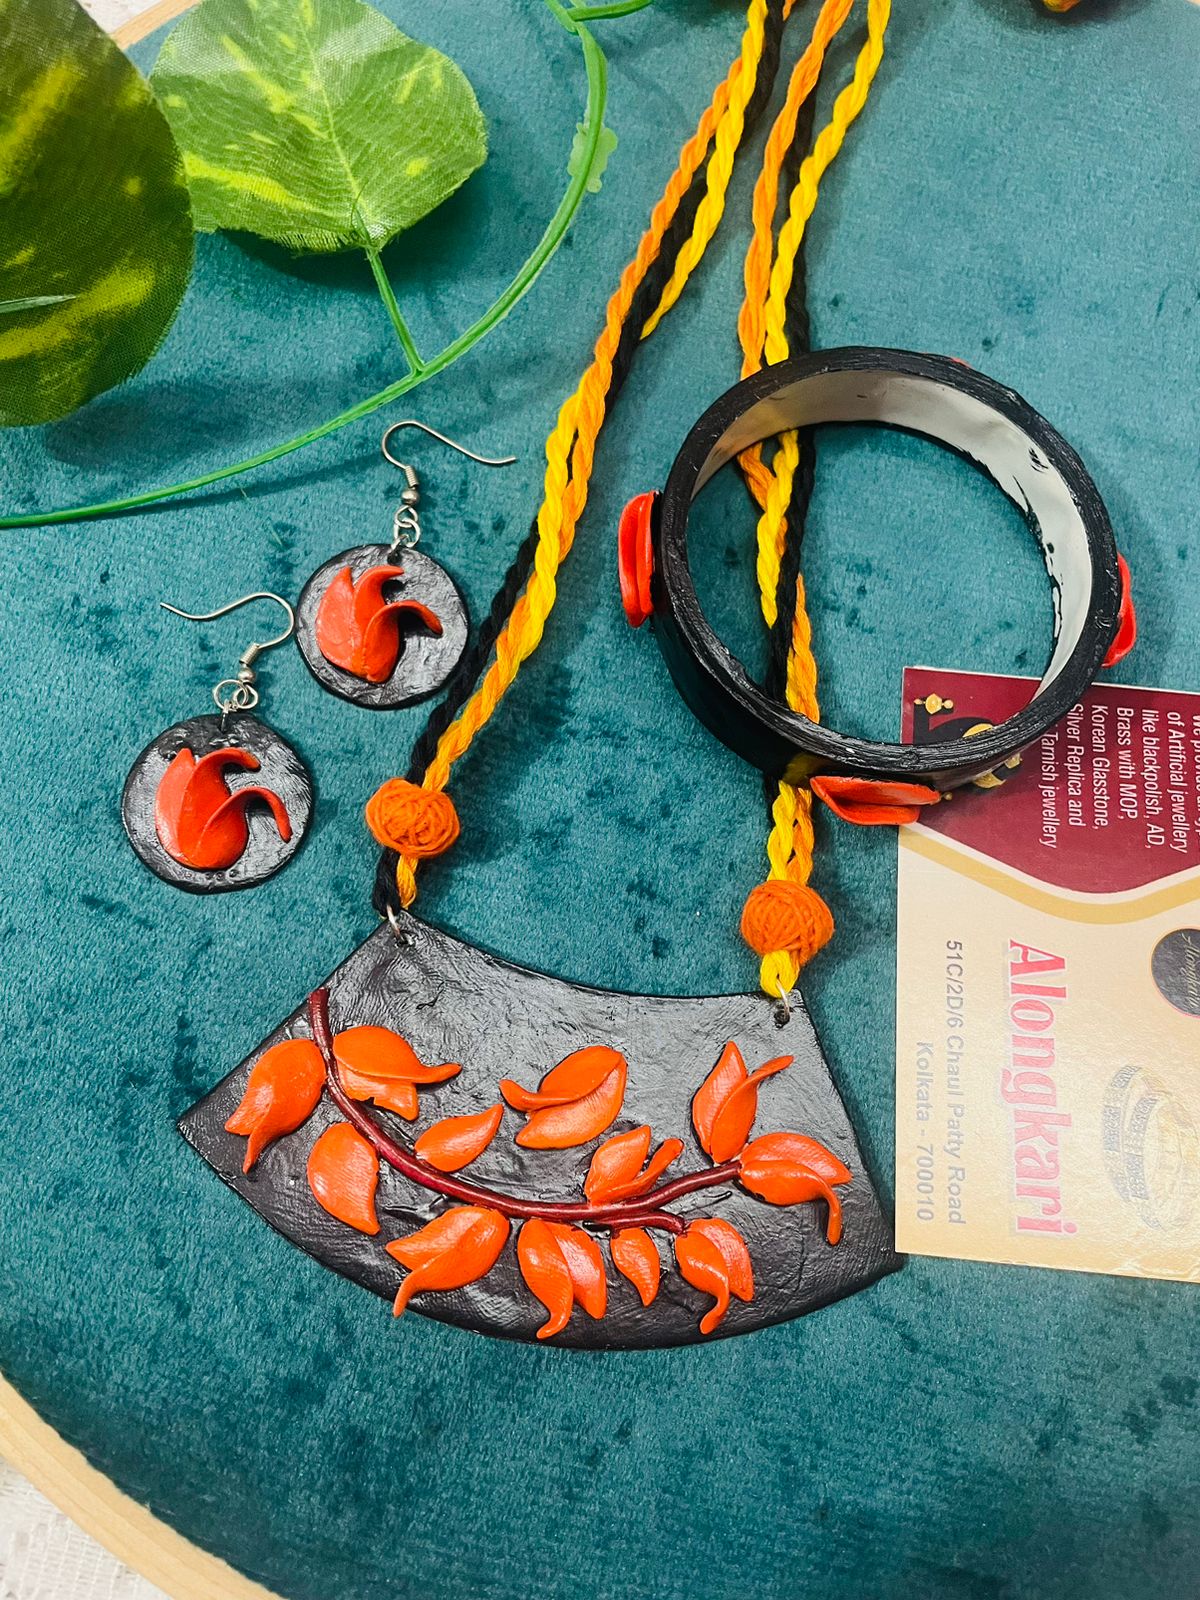
The styles and designs achievable with clay are virtually limitless, from minimalist and modern to intricate and traditional. This creative freedom, combined with the material’s inherent benefits, makes clay an ideal medium for crafting stunning necklaces and earrings that reflect personal style and artistic vision.
Step-by-Step Guide to Creating a Clay Necklace and Earrings Combo
Creating a stunning clay necklace and earrings set is a rewarding and creative endeavor. To get started, gather the necessary materials and tools. You will need polymer clay or air-dry clay, molds, rolling pins, cutting tools, and jewelry findings such as necklace chains and earring hooks.
Step 1: Preparing the Clay
Begin by conditioning the clay to make it pliable and easy to work with. Knead the clay in your hands until it becomes soft and malleable. Once conditioned, use a rolling pin to roll the clay out to your desired thickness, typically around 1/8 inch for jewelry pieces.
Step 2: Cutting and Shaping
Next, cut and shape the clay. You can use molds for consistent shapes or freehand techniques for unique designs. For the necklace pendant, consider using a larger mold or shape, while for the earrings, smaller, matching shapes work best.
Step 3: Adding Textures and Details
Enhance your clay pieces by adding textures and details. Use tools or stamps to imprint designs onto the clay surface. You can create intricate patterns, simple textures, or even add embellishments like tiny beads or metallic flakes.
Step 4: Baking or Air-Drying
Depending on the type of clay used, you will need to bake or air-dry the pieces. For polymer clay, follow the manufacturer’s instructions for baking, usually at a low temperature for a specified time. For air-dry clay, allow the pieces to dry completely, which can take 24-48 hours. Ensure the pieces harden thoroughly to avoid any breakage.
Step 5: Painting and Sealing
Once the clay pieces are hardened, you can paint them. Use acrylic paints to add colors and patterns. After painting, apply a protective sealant to ensure the paint stays intact and to give the pieces a polished finish.
Step 6: Assembling the Jewelry
The final step is assembling your jewelry. Attach the clay components to necklace chains and earring hooks using jump rings and pliers. Ensure all connections are secure to prevent the pieces from falling apart during wear.
For personalizing your clay jewelry set, consider adding initials, specific colors, or custom patterns. When packaging the finished product, use attractive boxes or pouches to enhance the presentation, making them perfect for personal use or as thoughtful gifts.


Reviews
There are no reviews yet.